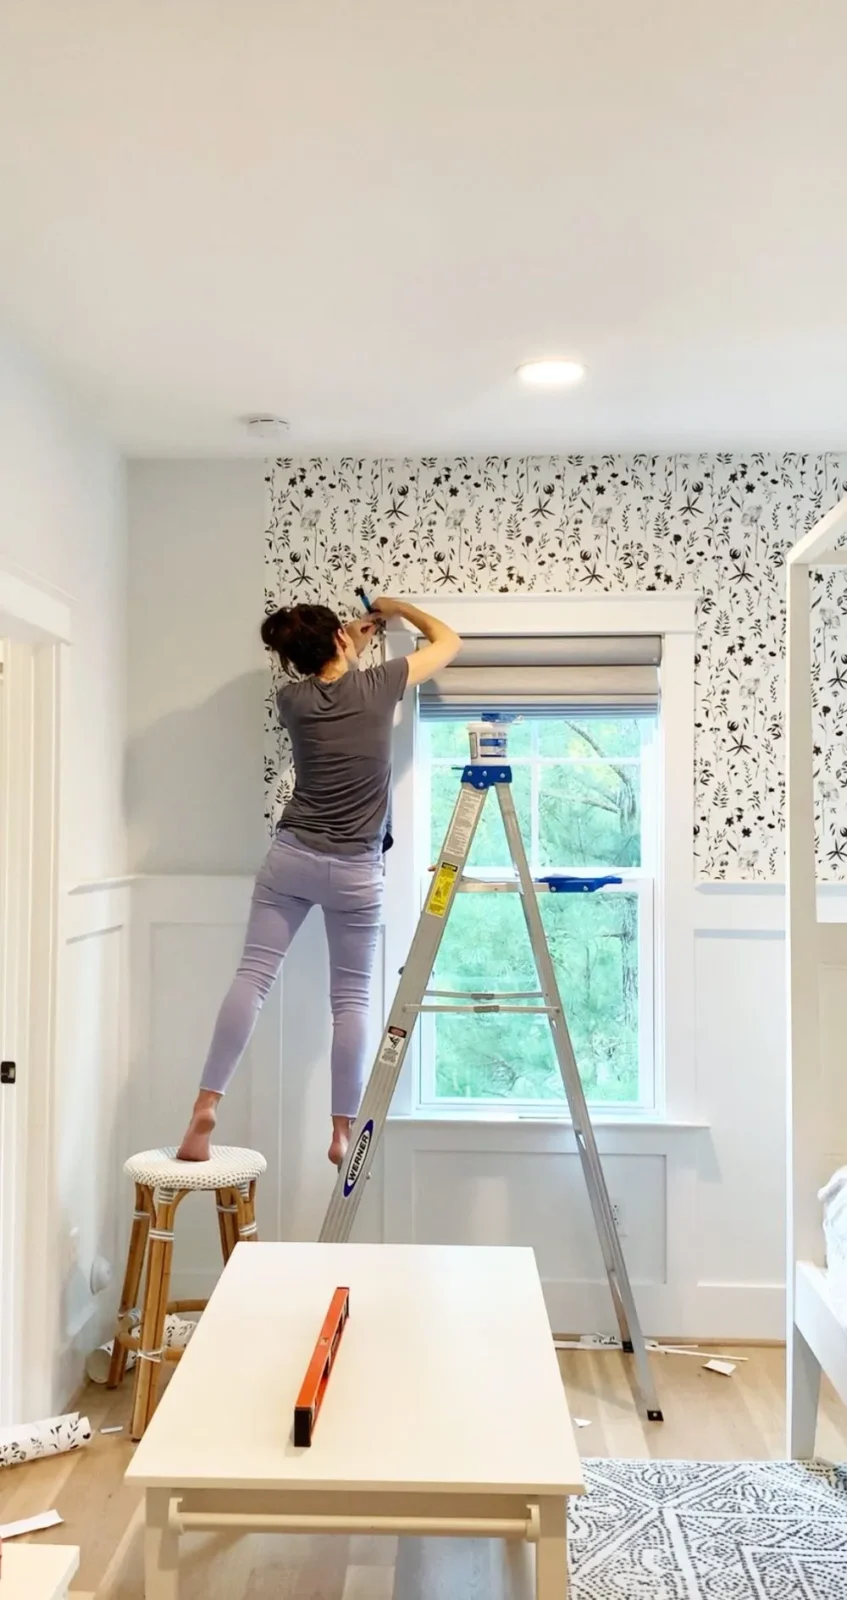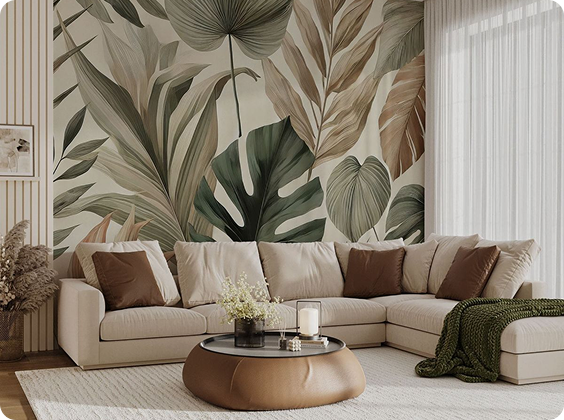
Even the slightest of glitches in the home interior design can make a highlight (cause irreversible trouble), especially when the point of concern is wallpaper damage. Yes, it just seems as if our eyes are magically drawn toward the damaged area and one can’t do anything but get irritated or annoyed in this situation.
Anyone will want to fix and be on top of the situation as soon as possible and the only way is to repair the wallpaper. Repairing your damaged wallpaper, especially talking about a patterned surface is no piece of cake, for sure.
However, following and carefully performing the right series of steps can get you the desired wallpaper appearance. And, that’s what this post by Wallpaper Land is all about.
The Step-By-Step Guide To Repairing Damaged Wallpapers
For plain wallpaper textures, you can easily find alternatives and similar-colored patches that rightfully fit the design equation. However, when wallpapers with special textures or patterns get damaged, it becomes downright impossible to match the appearance just with a patch. Speaking of the damage, there may be curled corners, air bubbles, open seams, wallpaper tears, and other troubles.
Below, we’ve provided all the important information on the topic of damaged wallpaper repair.
Wallpaper Damage Repair: Curled Corners
One of the most common types of errors in smooth, appealing wallpaper appearances is the curled corners. There are various reasons for such wallpaper outlooks i.e. weak bonding due to insufficient adhesive applied, rolled wallpaper memory, humidity problems, etc.
Whatever the reason may be, you need to arrange for the following essentials to complete this task efficiently.
- Heat Gun
- Wallpaper Adhesive
- Smoothing Tool
- Paint Brush
A heat gun is a must-have tool for this type of wallpaper damage repair because most often you’ll encounter a situation where wallpaper adhesive alone can’t keep the corners from curling. It’s because too much time has passed since the corners have been curled and now it’s a kind of memory i.e. the paper wants to return to that curled shape.
For the procedure, you need to clean the wall surface underneath and apply even coats of adhesive using a paintbrush to the area. Using the smoothing tool and heat gun, you need to work the wallpaper back onto the wallpaper. The heat gun if held too close to the wallpaper can damage it, therefore it must be held at a safe distance.
Read More: How To Trim And Cut Wallpaper
Wallpaper Damage Repair: Air Bubbles
Sometimes, it can happen that there are bubbles of trapped air that distort the aesthetic appeal of the wallpaper. These bubbles function as a glitch in the wallpaper design and require your attention.
There are various reasons for this problem i.e. improper smoothing, dust or dirt on the wall, etc. You’ll have to arrange for the following materials and tools prior to repairing this damage.
- Exacto Knife
- Glue Syringe
- Smoothing Tool
- Wallpaper Glue Or Adhesive
Locate the air bubble or blister and using the Exacto knife, make a small cross (X-shaped) over that area. Now, you need to clean any dust or dirt particles from underneath the wallpaper surface in that particular region.
Apply the wallpaper adhesive to fill the gap using the glue syringe. Smoothen the wallpaper surface using the smoothing tool to make sure that wallpaper is intact with the wall surface.
How To Repair Loose Wallpaper Seams?
Loose wallpaper seams when traced to the source will get you nowhere other than imperfect wallpaper installations. There are two different possible scenarios for loose wallpaper seams. First and most common are the loose seams at or around the wallpaper corners.
Second, if the wallpaper joint has been lined up with inadequate adhesive pumped into the gap lining. To deal with the first case situation, you need to clean the wall surface underneath and apply the wallpaper adhesive to the wall.
Then, you have to work the wallpaper into place by using a heat gun and smoothing tool. The heat gun can be avoided if the wallpaper seams aren’t curled up. When dealing with wallpaper joints, you have to be careful not to tear the wallpaper.
Also, when rejoining seams from both ends, you have to match the wallpaper pattern ideally (if you’ve got a patterned wallpaper). It’s best that you hold the seam in position for a minute or two until proper wallpaper attachments are ensured.
Read More: Can You Wallpaper Over Wood Paneling?
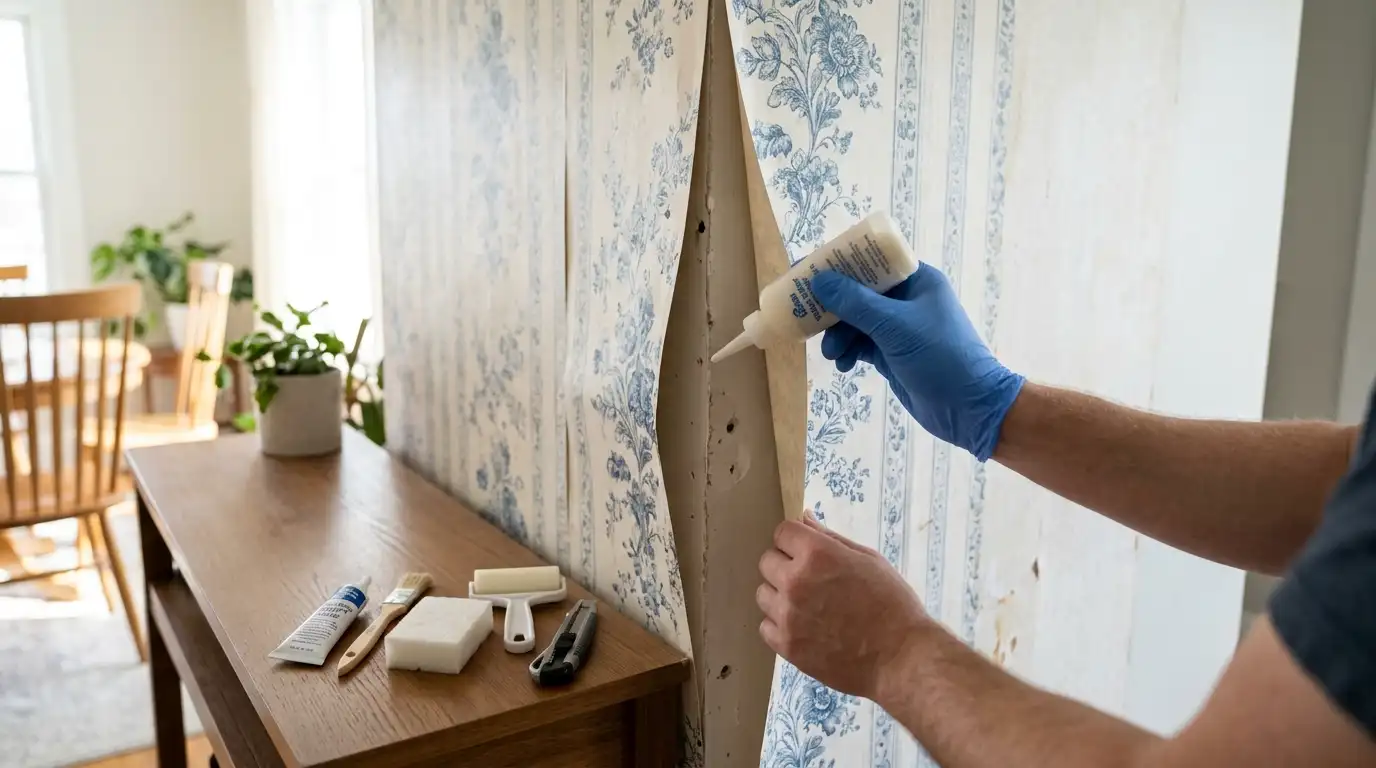
How To Patch A Damaged Wallpaper?
The ultimate solution for fixing damaged wallpaper is to apply a patch. Yes, we’re talking about replacing a part of the actual wallpaper with an identical design pattern alternative. There can be various reasons that you want to apply a patch to the wallpaper i.e. repeatedly slammed door knob causing wallpaper damage, the guest child displaying skill arts with crayons, etc.
You’ll be needing the following tools and materials to efficiently DIY patch the wallpaper at home.
- Wall Filler
- Smoothing Tool
- Dry Cloth
- Wallpaper Patch
- Wallpaper Primer
- Sharp Blade Or Knife
- Painter’s Tape
- Wallpaper Paste
After you’ve arranged for all the supplies and equipment, follow the steps explained below to carry out the wallpaper patch replacement.
1. Estimate The Patch Area
Depending on the area to be patched, you need to take precise measurements to precisely fit the patch. Don’t forget that any wrong measurements can make your invested money and efforts go in vain.
2. Buy The Patch From Market
For motifs and large-scale complex patterns, it’s really difficult to find a patch with the exact same design patterns. In this case, you should contact your wallpaper supplier in the hope to make things right.
3. Cut The Damaged Wallpaper Area
When cutting the wallpaper for patch replacement always leave an additional two inches from all sides. Never make irregular-shaped cuts and stick to the defined shapes like squares or rectangles for efficacy.
4. Apply The Patch
Clean the wall surface to get rid of dust, dirt, or debris from creating blisters underneath the wallpaper later on. Now comes the time to apply the wallpaper patch. For this purpose, you can apply wallpaper glue to the back of the wallpaper for attachment purposes. Never rush things and work in detail to match the wallpaper pattern with the patch for an appealing design.
Read More: Dining Room Accent Wall Ideas
5. Finish The Process
In the end, you need to smoothen the wallpaper texture with a smoothing tool. For this purpose, you can work lengthwise to cover the patch area completely. Don’t forget to wipe off the extra wallpaper glue coming out from underneath the wallpaper surface.
In Summary
Repairing your damaged wallpaper with a DIY approach saves you a lot of money and improves the design continuity and overall aesthetics of your wall treatment. In this post, we’ve explained many different wallpaper damage problems along with proposing ideal and simple solutions to deal with these situations. Make sure you follow each step with complete attention to detail and don’t forget to arrange for the project essentials.