One can’t neglect the importance of perfect wallpaper installation. A precise installation, in fact, is equally as crucial as buying a perfect-looking wallpaper from the store. Most people make certain mistakes during DIY wallpaper installation that lead to the waste of their valuable investment in front of their own eyes.
So if you’re also looking to have complete information on the very topic of the best DIY wallpaper installation, then you’ve come across the best piece of writing. In this article by Wallpaper Land, we’ll inform you about the step-by-step installation of wallpapers. So, stay with us and have your home wallpaper installed perfectly to capitalize on your investment.
The Step-By-Step Guide For A Perfect DIY Wallpaper Installation
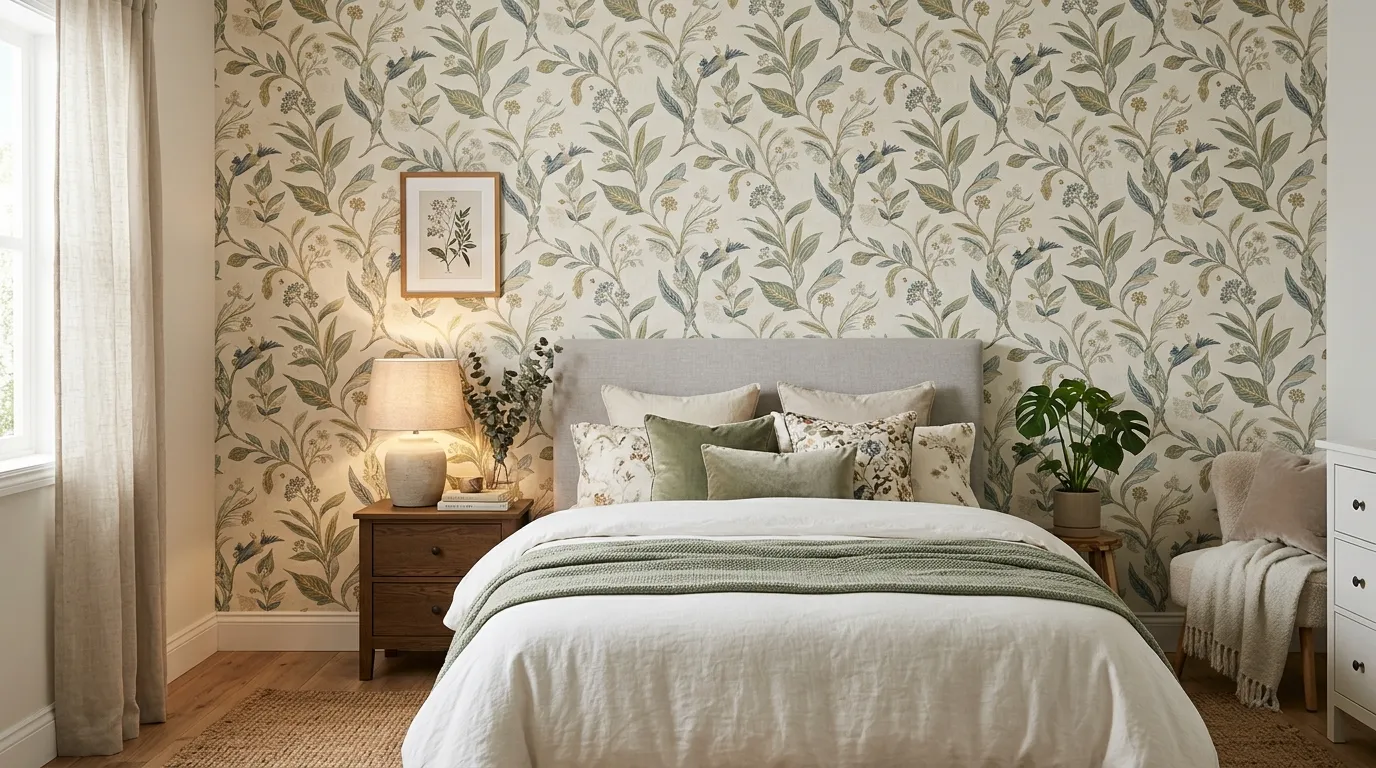
Wallpapers are stylish, charming, and add a luxurious touch to the interiors. However, you’ll only be able to get the most out of your elegant-looking wallpaper when it’s installed perfectly enough to ensure no susceptibility to damage from moisture, visible seams, patchy appearance, and other similar factors.
Following is a list of equipment or tools that are to be arranged before getting your wallpaper installed in a DIY fashion.
- Wallpaper
- “Wall size” primer
- Wall Paste/Primer
- Paint Roller
- 50-Grit Sandpaper
- Putty Knife & Scissors
- Wallpaper Brush
- Measuring Tape
- Level Measure
- A Clean Piece Of Cloth
After you’ve arranged for all these materials, you can begin precisely with the steps below for an efficient, and error-free DIY wallpaper installation.
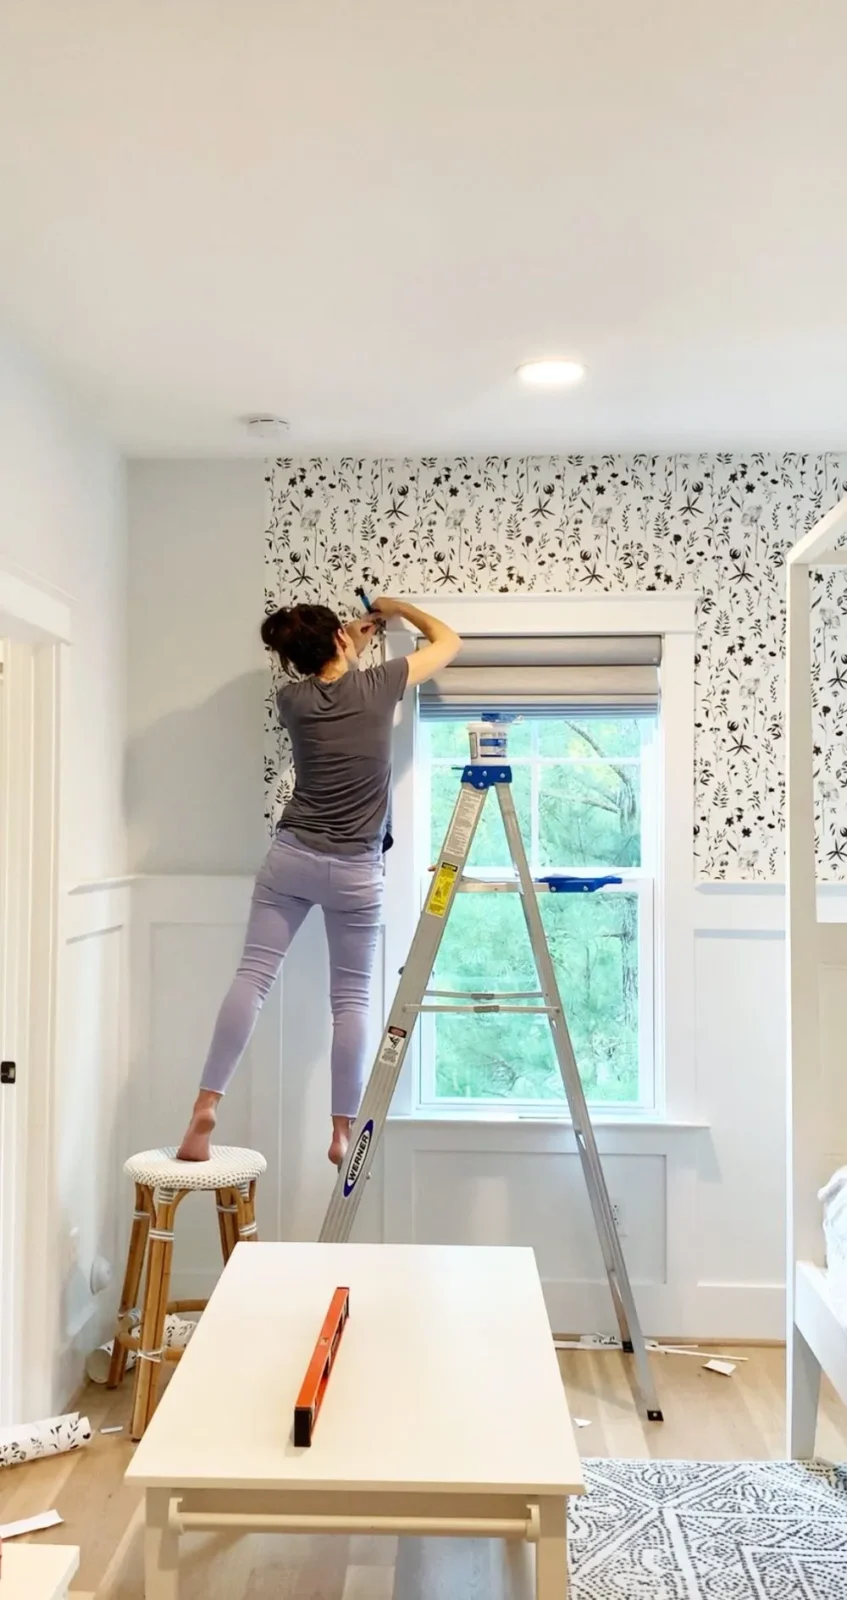
1. Plan Out The Room
The first and foremost thing is to prepare the walls for wallpaper installation. For this purpose, you’ll have to remove plate covers, heating vents, light fixtures, and similar removable elements from the walls to get yourself a smooth, and hurdle-free surface to work on.
Next, you’ll be scraping the previous paint from the surface of the walls with 50-grit sandpaper to eradicate any bumps, imperfections, or minor holes that can interfere with or damage your new wallpaper.
Additionally, you can coat a wall-size primer layer after scraping the walls clean. This sizing product will help prevent the shrinkage of wallpapers later on and that’s why it is widely used by professional wallpaper installers.
Last but not least, you need to take all the wall measurements again to cut the additional wallpaper for an efficient installation. In this regard, it is recommended that you leave an additional inch or two on all sides to cover up for any sort of mistakes.
2. Prepare/Book The Wallpaper
The second step to DIY installing wallpaper is called booking the wallpaper. Before this step, always keep this all-important rule in mind for not gluing the wallpaper to paste it on the wall. The best thing to be done is to paste the walls with a generous amount of gluing product prior to pasting the wallpaper.
Next, you’ll need to lay your wallpaper on a flat surface (tables mostly) and cut the first strip with the wallpaper’s focal point (design) to be placed exactly in the center when pasting the wallpaper on the wall.
This can be efficiently done by having a false wallpaper placed over the wall to be pasted and marking the precise measurements. Follow up with applying an even coat of adhering glue or paste to the wallpaper’s edges.
The next step requires you to fold over the edges so that they meet on the side, alternate to the one being glued. This helps prevent the wallpaper from sticking to itself. When doing this, always fold gently to avoid the wallpaper from being creased.
Not to mention that you’ll repeat this step precisely for all the walls to be covered.
Also Read: How To Hang Prepasted Wallpaper
3. Paste The Cut Strip Onto The Wall
Take your booked wallpaper strip and paste it on the wall keeping in view the marked points for the best installation. Don’t forget that you’ll have a few inches of wallpaper left to be removed from the sides after this step.
Before applying the cut strip, you need to apply a generous amount of paste on the walls and smooth it using a paint roller. This helps prevent the accumulation of any extra amount of paste under a certain area of the wallpaper.
When pasting the wallpaper strip, you will most likely encounter light boards and other wall fixtures. To cope with these issues, gently press the wallpaper over the area of the board or fixture and cut the required wallpaper part with a top-to-bottom cutting movement using scissors.
You’ll notice that the wallpaper will cover the area around the fixture quite perfectly after that.
4. Adjust The Seams With Overlapping Wallpaper Strips
To adjust the wallpaper seams, you can overlap the strips for a few centimeters depending on your wallpaper’s design adjustment. This is the most important part because any mistake will cause irregular design patterns that won’t look good for your home decor.
Also, when doing corners, you’ll have to give unnoticeable incisions to the wallpaper at the edges for a precise fitting. The same applies when working your way around windows or any other curved area.
Also Read: 10 Main Types Of Wallpaper
5. Look For Any Imperfections
For an inexperienced person following a DIY wallpaper installation method, mistakes are a common part of the procedure. You may also encounter trapped bubbles, peeling edges, curled seams, etc.
Don’t worry all of this can be easily fixed with the help of additional wallpaper left on the top and bottom sides. If the trapped air spaces are near the wallpaper edges, you may try peeling off and readjusting the wallpaper slightly for an efficient fix.
Besides, trapped bubbles in the center of the wallpaper can be easily fixed with a needle puncture and paste applied to that area. Similarly, curled seams require you to glue that area again for adhering purposes.
6. Trim The Additional Wallpaper Pieces
Now comes the time to trim the extra wallpaper after you’ve made sure that the wallpaper has been installed the right way with no imperfections visible. For this purpose, you can use scissors for the best results.
7. Apply A Paint Roller
Last but not least, you’ll have to apply a paint roller over the wallpaper with gentle pressure for some time so as to not squeeze out glue from underneath the wallpaper edges. It will help create the much-needed adhesion between the walls and the wallpaper.
With that being said, you’re done with your DIY wallpaper installation!
End Note
A DIY wallpaper installation is not as difficult as it may seem. Following this wallpaper installation guide precisely and carefully, you can efficiently install your home wallpapers, thus eradicating the need to pay (excessively) for professional installation services. All it takes is to arrange for the required materials besides investing in your valuable effort and precious time.