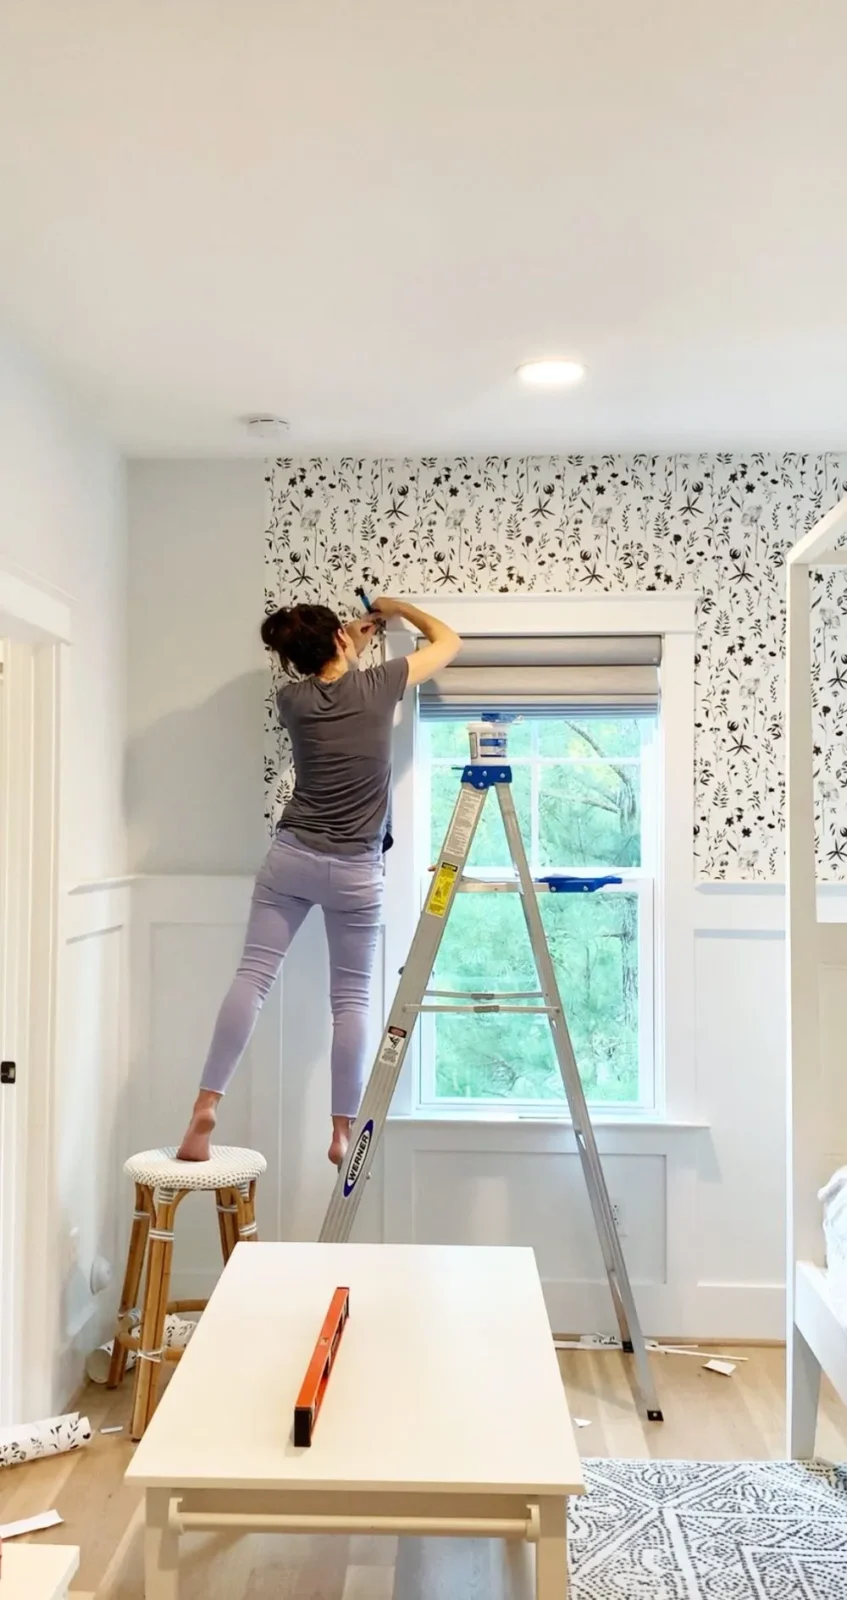
You’ve just finished installing your wallpaper and are about to take a rest looking at your perfectly installed, seamless wall treatment. But wait, those peeping loose wallpaper seams can ruin your mood and demand you to put extra effort into fixing them.
That’s why perfect wallpaper installations are equally as important as the choice of an ideal wallpaper itself. Wallpaper damage is one thing and loose wallpaper seams are what no one likes about at the end of a DIY installation job. But how do you fix loose wallpaper seams?
Wallpaper Land has got you all the help in this regard, i.e. method to fix or reattach loose wallpaper seams.
Expert Advice On How To Fix Loose Wallpaper Seams Like A Pro
The different wallpaper panels are to be attached side-by-side and secured with an adhesive. Wallpaper seams can get loose due to plenty of reasons and basically, it’s called peeling off of the wallpaper from the wall surface. So, how can you reattach wallpaper seams? Stay with us to find out the answer.
What Are The Reasons For Loose Wallpaper Seams?
Before moving any further, let’s explain to you all the possible reasons for wallpaper seams getting loose and peeling off.
- There may have been too much adhesive/paste/glue squeezed out when smoothing the wallpaper for attachment.
- Imperfect wallpaper installations can also lead to loose wallpaper edges.
- The wall surface may have not been primed properly.
- Air bubbles trapped underneath don’t allow proper wallpaper attachment to the wall.
- The glue or adhesive may not have been strong enough to hold the wallpaper.
- Bumps, tears, or other sorts of wallpaper damage may lead to open seams.
- The wallpaper glue has gotten weak over time and there are open seams resultantly.
- Elevated levels of air humidity at the time of wallpaper installation may give rise to this trouble.
- If the drywall underneath the seam gets damaged during wallpaper installation, there will be improper attachment and thus, loose edges.
Read More: How To Trim And Cut Wallpaper
What Can Be The Consequences Of Loose Wallpaper Seams?
Whatever the reason may be, open wallpaper seams must be addressed timely. Or else, you have to face the following consequences.
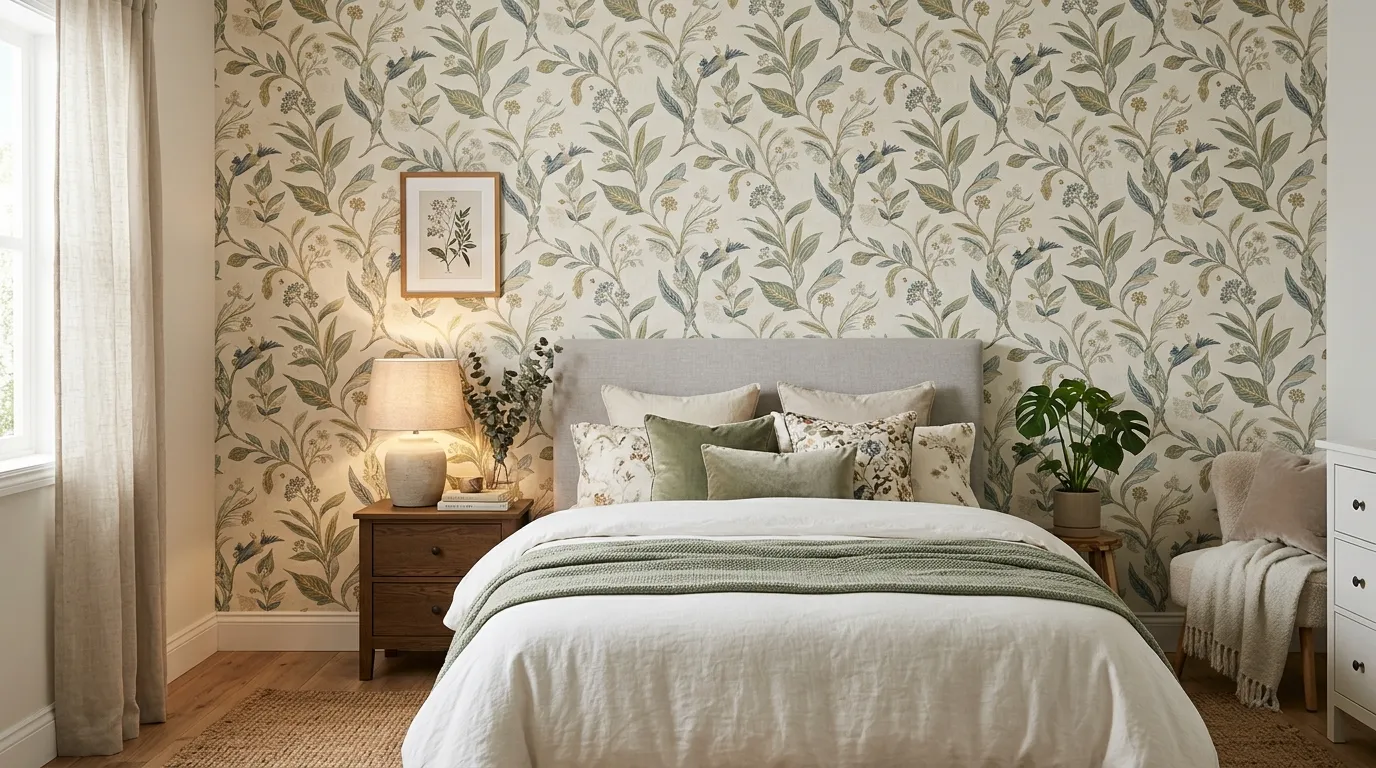
- Diminished Aesthetics: Open wallpaper seams make the room look untidy and unfinished thus, leading to a decrease in the aesthetic value.
- Further Damage: If left unaddressed, loose wallpaper edges lead to bubbling, peeling, tearing, and shredding of the wallpaper.
- Health Issues: Sounds odd but loose wallpaper edges allow moisture to seep in, leading to mold and mildew growth and health-related problems as well.
- Wallpaper Loss: Loose seams as progress can make the wallpaper come off due to its weight and therefore, you’ll end up losing your valuable investment.
Fixing Loose Wallpaper Edges: A Step-By-Step Tutorial
You need to follow the following series of steps in order to fix open edges in your wallpaper properly. Also, you’ll require some tools and materials described below to efficiently complete this DIY job.
- Putty Knife
- Sponge
- Seam Repair Adhesive
- Foam Roller
- Smoothing Tool
- Heat Gun Or Hair Dryer (Optional)
1. Check Out The Open Seam
The first and foremost step is to inspect the wallpaper area with loose seams. It’s really important because you can’t fix the issue unless you get to know about the underlying cause of the problem in the first place.
For this purpose, you can lift the seam using a putty knife and just slightly (if the seam is open along all its length) to check whether there is dust or dirt on the wall. While doing so, you need to be very careful in order to not cause any tearing damage to your wallpaper because that will cause more harm than good.
Also, there may be damage to the drywall (as explained earlier) and you need to fix it using a wall filler or filling compound. Similarly, it can possibly happen that the seam is loose at points while strictly attached in between and all its length.
If that’s the case, it is recommended that you try to detach the attached parts of the seam so as to ensure smooth seam adjustments afterward.
Read More: Best Peel and Stick Wallpaper Prints for Bathrooms
2. Resolve The Issue That Caused Open Edges
Now that you know what caused loose seams of wallpaper, you need to get rid of it. For taking out dust or dirt, you can use a piece of cloth or sponge (if it fits the gap) to wipe the wall. Similarly, you have to apply wall filler to the damaged walls and wait until the filling compound dries.
3. Fix The Ripped Seam Edges
There is a high chance that the open wallpaper edges are slit beforehand. If that’s the case, you need to fix the ripped areas by applying wallpaper glue or adhesive in small quantities. Wait until the wallpaper glue dries and you get to work on smooth, plain seams of wallpaper in one piece.
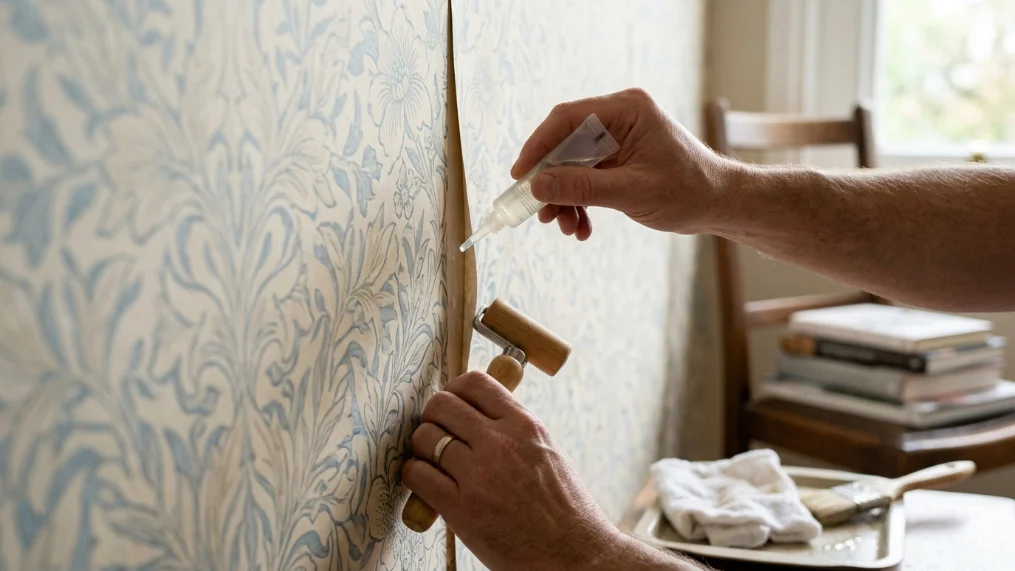
4. Apply Wallpaper Seam Adhesive
Now that you’ve eliminated the underlying cause of the problem and have also fixed ripped seam edges (if any), it’s time to get the seam attached to the wall once again. Always make sure that there is no dirt or dust along the inside of the peeling wallpaper edge.
Next, you need to apply wallpaper seam adhesive into place and run the foam roller with gentle pressure over the seam. After that, you can make use of a smoothing tool to get the work done by resealing the seam properly.
5. Clean Up The Excess Adhesive
The last step is to get the wallpaper surface cleaned up around the open seam area. Usually, the accumulated glue or adhesive applied for resealing the seam protrudes out and therefore, is visible from a distance. You can use a sponge to clean that excess glue or adhesive from the wallpaper surface.
In The End
The loose wallpaper seams or edges are most likely to happen after a DIY wallpaper installation due to various possible reasons. However, if you’ve encountered such a situation, there’s no need to worry because we’ve explained a simple, straightforward, and effective method to fix loose wallpaper seams. Follow the steps carefully and you’ll be able to fix the situation without getting excessively frustrated or even spending a fortune on the professional services.