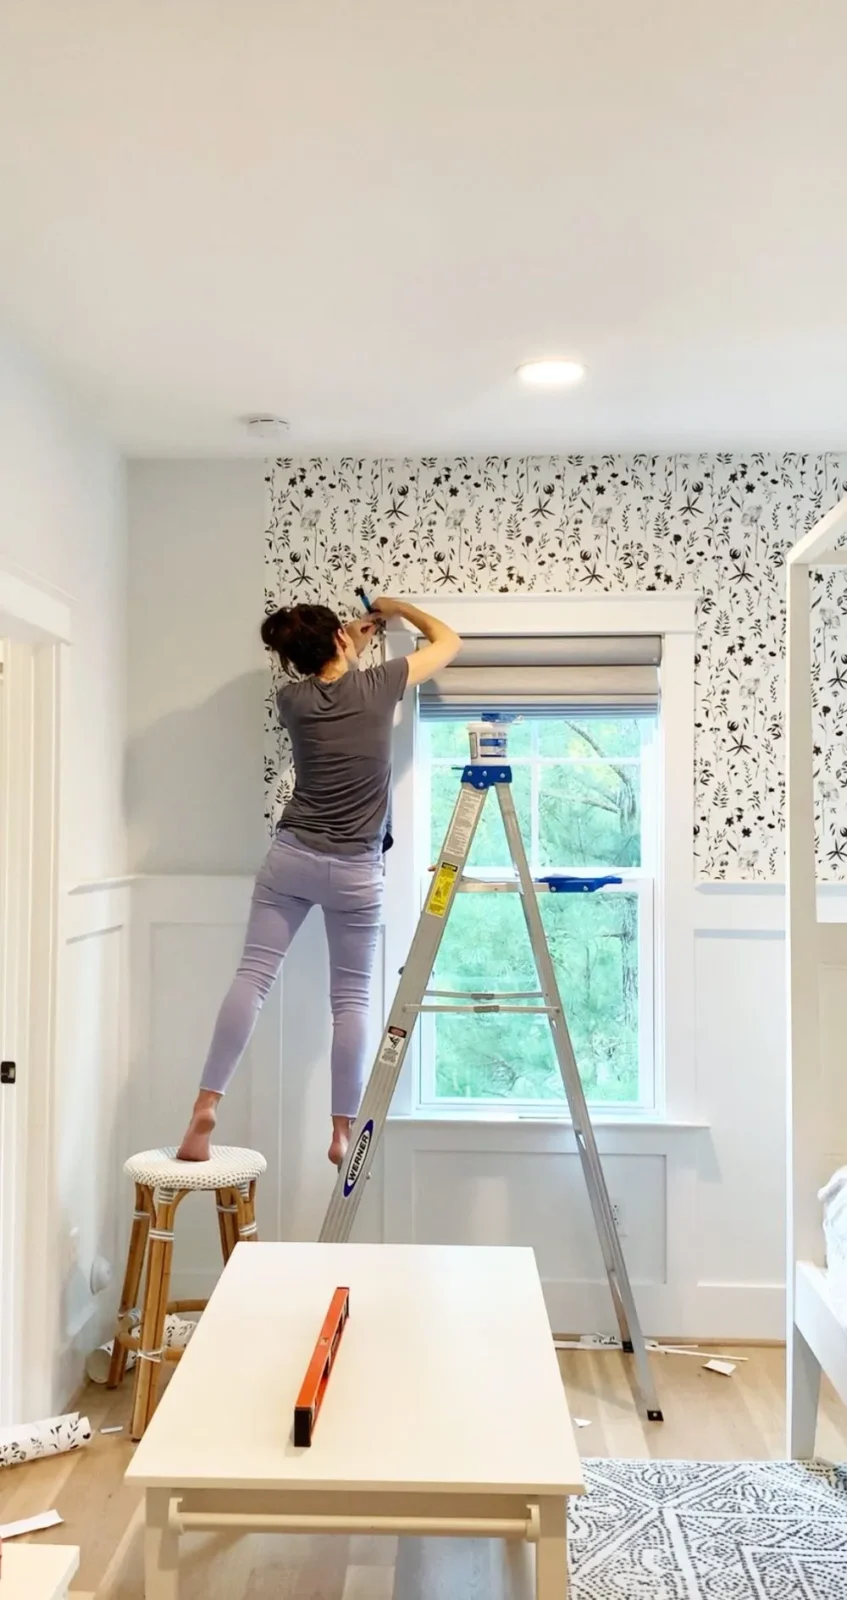
Wallpaper removal has never been a user-friendly task, however, efforts can be made to reduce the amount of potential that is to be put into i.e. making the process efficient and quick comparably. Especially, when you move into a new house and see that old-time wallpaper design on the walls, there comes an absolute urge to remove the wallpaper.
And, one can’t simply do anything else than give in to this strong feeling of home wallpaper replacement. No matter if it’s the reason or any other for your DIY wallpaper removal project, we’ll teach you how to make this task look effortless and time-saving. Because in this blog post by Wallpaper Land, we’re going to explain the procedure to DIY remove wallpaper from plaster walls efficiently.
A Handy Step-By-Step Guide On The Wallpaper Removal Process From Plaster Walls
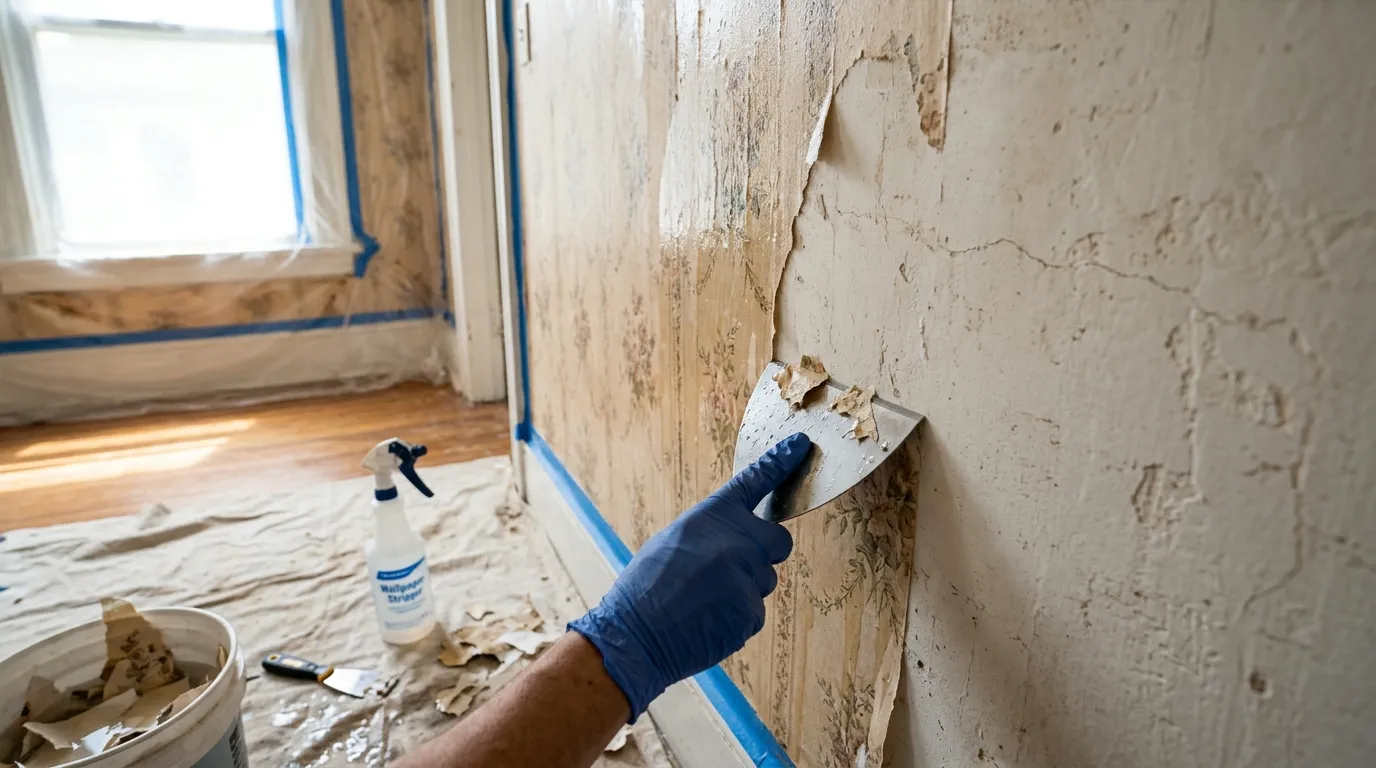
No doubt, everyone faces a hard time removing wallpaper from dry walls. However, wallpaper removal from plaster walls is far more difficult than that. That’s because the application of wallpaper to plaster walls requires super-gluing that makes the wallpaper somewhat a part of the wall itself. Therefore, you’ll be needing a few more essentials to complete the task successfully.
Equipment/Supplies Needed
Below, we’ve enlisted all the important supplies required for the efficient completion of the task.
- Clean Water
- Wallpaper Steamer
- Wallpaper Steaming Pad
- Putty Knife Or Scraper
- Wallpaper Scoring Tool
- Plastic Sheeting
Some Important Considerations
Before you begin with the process, you need to know whether or if the plaster wall has been layered with any previous wallpaper or wallpapers. That’s necessary to know because otherwise, you can inflict damage to your home interior walls that will create some more issues both financially and aesthetically.
Additionally, you need to adopt proper safety considerations when scraping plaster walls. That’s because most households have plaster walls painted with lead-based paint that can create nerve disorders, concentration problems, reproductive problems, high blood pressure, and many more health issues.
The Wallpaper Removal Procedure
After you’ve arranged for all the required materials, you can proceed to the first step in the process.
1. Protect The Surroundings
You’ll be dealing with steam and hot water for wallpaper removal purposes and therefore, taking care of valuable items placed nearby should be your primary concern. For this purpose, you can lay a sheet of plastic near the wall and on the floor besides removing all valuable items from the working zone.
2. Wallpaper Scoring
The scoring tool will come in handy and is the most important of all the required materials listed. Wallpaper scoring is the process that demands creating small pores in the wallpaper on the topside.
It is through these holes that the steam can moisten and liquefy the wallpaper afterward. Therefore, you should perform wallpaper scoring precisely and accurately for beneficial outcomes.
3. Make Preparations For Wallpaper Steaming
Now, you need to attach the steamer pad to the end of the hose. Always make sure that the steamer pad is tightly fitted and secured to the hose i.e. no chance of its loosening. Now, you can fill the wallpaper steamer with warm water.
Always make certain that the steamer is turned off at the time of water filling. Once fully filled (don’t overfill the steamer), you can let the steamer get charged completely i.e. you’ll get notified via a light indication once the steamer is ready to use.
4. Steam Remove The Wallpaper
Now comes the time to steam the wallpaper. For this purpose, you need to press the steamer pad against a loose wallpaper surface and hold it in place for at least 30 seconds. The hot water steam will make the wallpaper’s surface soft and easy to remove with scraping.
Know More: Wallpaper Trend 2024
5. Scrape The Wallpaper
Just as you remove the steamer from the wallpaper, you need to immediately scrape the wallpaper surface. That’s because you’ll have more chances to peel away large pieces of wallpaper at that time. And, you can either make use of a scraper (ideal option) or a putty knife to get things going.
6. Steam The Wallpaper Again (If Needed)
You may find it somewhat difficult to remove the wallpaper even after making use of a steamer pad over the surface. There are various reasons explained for this phenomenon. However, you need to re-steam that specified wallpaper area again under such circumstances.
Also, your approach is to peel large wallpaper pieces at a time as much as possible. Because shredding the wallpaper into pieces will require you to put more valuable effort and precious time into the act.
7. Repeat The Process On Different Sections
Once you start getting results with the procedure when followed precisely, you’ll get used to the process. Not to mention that you need to repeat the process until even the wallpaper remains are scraped off from the plaster walls.
Always Keep This In Mind
Here are some important tips on the procedure that you should not overlook and try to follow.
- Don’t channel the steam over a specific area for too long, i.e., as long as 1 minute. Because it creates shreds of the wallpaper, besides damaging the wall plaster.
- Wallpaper cracks up to some extent are negligible and are only because of wall plaster cracking.
- In case you wanted to only remove the wallpaper, but the wall plaster came along unintentionally, you’re lucky enough for a complete interior design touch-up.
- If you want to get rid of the wall plaster as well, then the ideal way is to steam over a specified wallpaper surface for much longer than needed.
End Note
Removing wallpaper from plaster walls might have been a challenging task, but not anymore! We’ve explained to you the most efficient method to remove wallpaper from plastered walls in various steps. Hence, there’s no need to call for professionals when this procedure can be efficiently DIY performed. All you need to do is to arrange for a few essentials, spare your precious time, and put some valuable effort into the successful completion of this task.